Showing posts with label Chicopee. Show all posts

Wednesday, January 16, 2013

Pyramid Pals! Three Chicopee Quilts (+ Tutorial!)

A trifecta of triangle quilts + tutorial! (Tutorial at the end of this post.)

Jaime, Emily and I adore Denyse Schmidt's fabrics-- and when we saw this Pyramid quilt made from her Chicopee line, we were all three smitten. We had to make it for ourselves!


We each cut 3/8 yard of all 26 prints, giving us 5 triangles from each print--enough to make a queen sized quilt top!

Jaime's Quilt
Jaime made a queen sized quilt, and tried her darnedest to be random with the patchwork. It turned out perfectly random and is beautiful!


Emily took a different approach for her queen sized pyramid quilt, and planned out a repeating pattern which created a soft rainbow effect in her patchwork. In order have the right number of certain colors she had to make some triangle trades with Jaime and I. I love the effect of the organized groups of colors!


I went a little smaller with my quilt, wanting a cozy couch quilt. It's 60" x 90", long enough to stretch out under for naps, or wide enough for a two person lap quilt.

Jaime's Rainbow Patchwork Back  |  Amber's Bright Floral Back  |  Emily's Patchworky Stripe Back

We each chose our own adventure for our quilt backs!

Jaime used her Chicopee scraps to make a stripey rainbow, which she then patchworked with some of her favorite tiny gothic Japanese florals.

I was inspired by antique crazy quilts I've seen from the early 1900s, many of which have big, wild florals backing them. I chose an acid yellow rose print from Bari J. and I love it!

Emily chose a yarn-dyed Essex linen cotton for most of her quilt back, but inserted a colorful strip of patchwork down the center.

Basic Pyramid Patchwork Tutorial

To make a queen sized quilt top you will need:
  • 3/8 yd each of 26 prints
  • Cutting mat
  • Rotary cutter
  • clear ruler with 60o marking
  • sewing machine and thread


  1. With a rotary cutter and ruler, cut all your fabric pieces to 12" strips, selvedge to selvedge.
  2. Take one strip and, using your ruler, cut the end of the strip off at 60o.
  3. Rotate your ruler to the other side and finish cutting one triangle by cutting again at 60o. Save your half triangles from the ends. Repeat cutting for remaining triangles and remaining strips.
  4. Place 2 triangles right sides together and seam along one edge at with 1/4" seam allowance.
  5. Press open.
  6. Place next triangle right sides together with last triangle, letting the point extend past the edge of the triangle below as much as the previous triangle point's seam allowance. Seam and press. Continue until you have 13 triangles sewn together. Seam one half-triangle to each end of your strip.
Repeat until you have 9 strips of triangles.

Lay your strips out to decide what order to piece them together in. Seam strips together.

Tada! You have a totally hot quilt top!

Wednesday, October 31, 2012

Jaime Takes a Trip to Tova Town

I recently went Tova crazy! I have loved this shirt since I made my first one last February. It is the perfect fall shirt so as soon as the weather turned cold, I decided to whip up a couple more. The Tova pattern by Wiksten is a flattering, but loose fitting shirt with 3/4 length sleeves. It is an advanced beginner pattern - it will be easy for you if you have experience with gathering.


For my first Tova, I choose this beautiful, limited-edition Liberty of London print. This haberdashery print is very vintage-inspired and pairs perfectly with the Tova pattern. I decided I wanted a more demure look for this top, so I finished it with some sweet little black rose buttons. The result is a feminine top that makes me think of Jane Austen, so naturally I love it.


I took my new shirt out to the brand new Humble Pie Store to try some pie during our photo shoot. The results: cute and delicious!


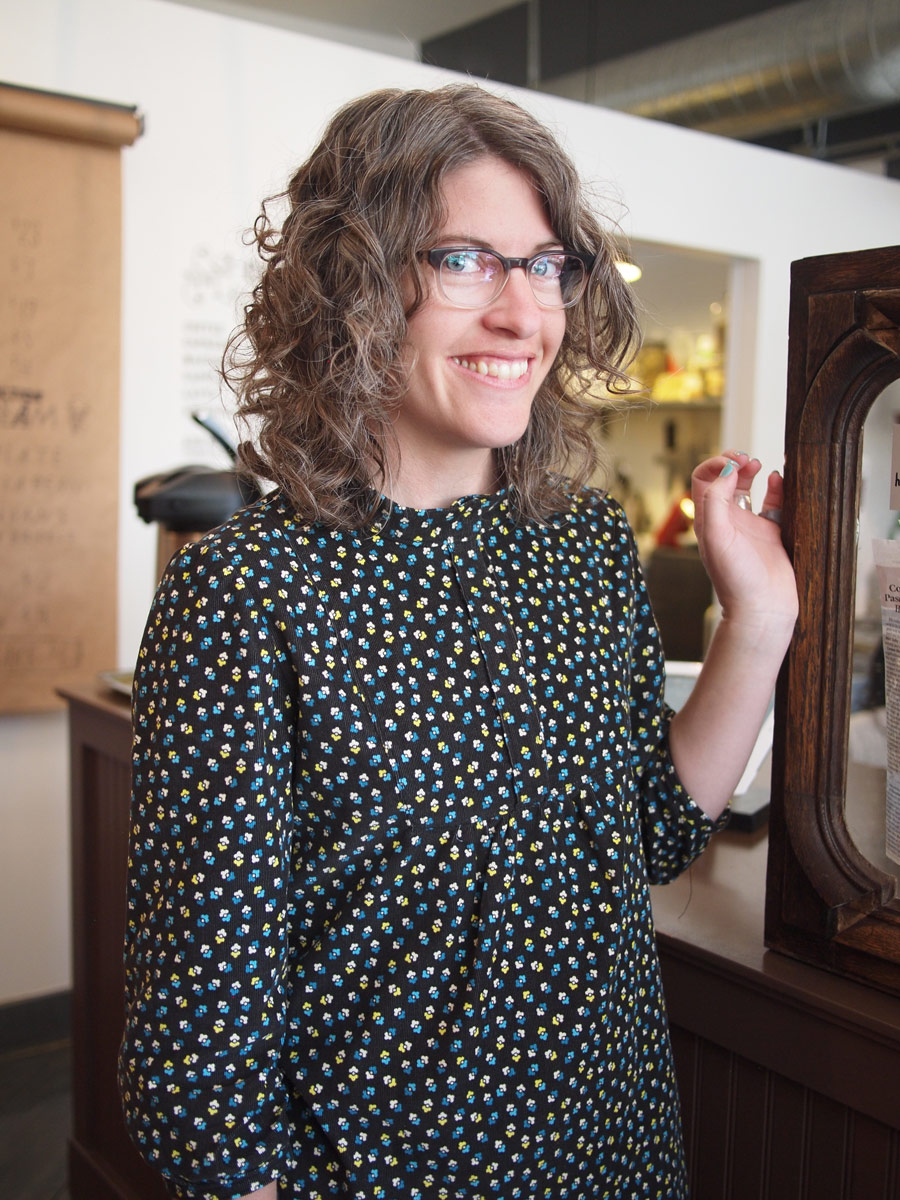
My second Tova is made out of the new Denyse Schmidt Chicopee Corduroy prints. OMG, I love these corduroy's so much! They are a featherwale which means they have the tiniest wales to make the softest, most velvety corduroy. The fabric is fine enough for garment construction and did great even with all the gathering. The result is a cozy and warm Tova, perfect for crisp fall days. I love closures high on my neck so I added some snaps on the inside of the front placket to make the neckline. Result = perfect!


If you want to make this shirt, but are intimidated, we are offering it as a class this winter! Check out the deets here.

Wednesday, August 15, 2012

New Denyse Schmidt Chicopee Fabrics & Precuts!

Sometimes a fabric collection comes to the shop that is so hot, we have to drop everything and start sewing. That's what happened on Friday when Denyse Schmidt's newest collection for Free Spirit arrived, Chicopee. Here is the queen sized quilt top I made this weekend:


As soon as the boxes were unpacked we googled possible quilt options and found this quilt - Emily and Amber and I fell instantly in love. My queen version took 1/3 yd of each of the 26 prints that make up the Chicopee line (all of which are available here at Fancy Tiger). Stay tuned to see how I finish this and how Emily and Amber's quilts turn out.


Denyse Schmidt is a modern quilting genius and her prints are perfectly suited for amazing quilts - good balance of lights and darks, large and small scale, and a lovely spectrum of both bright and muted colors. Beautiful. We also have in stock pre-cuts which will make quilting with these prints that much easier.


Okay, I have to make a quilt back now!